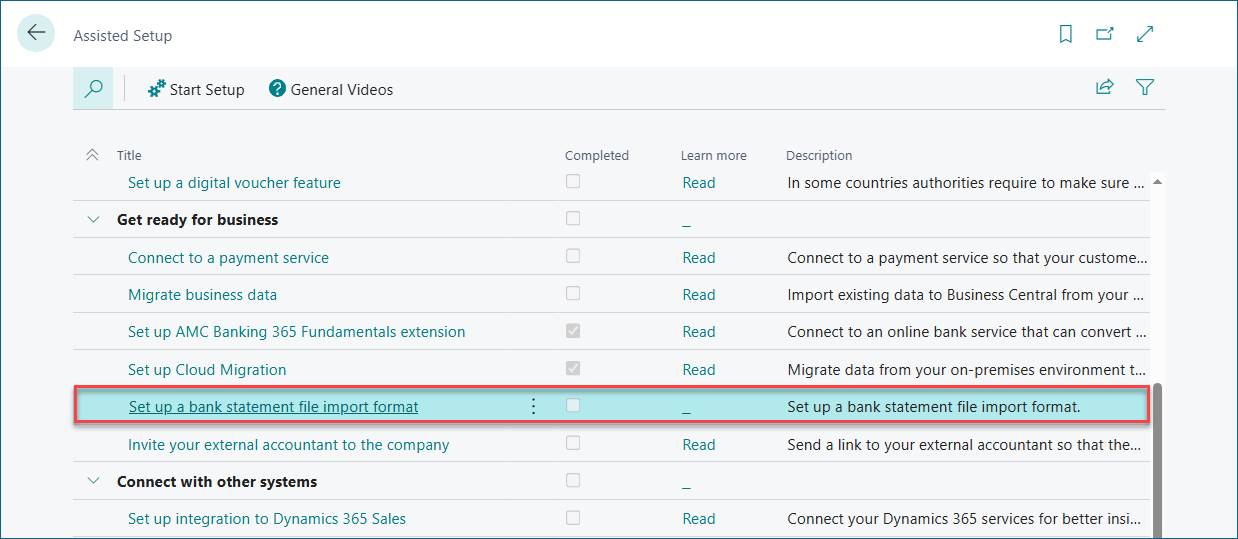
Open the Assisted Setup and click "Set up a bank statement file import format"
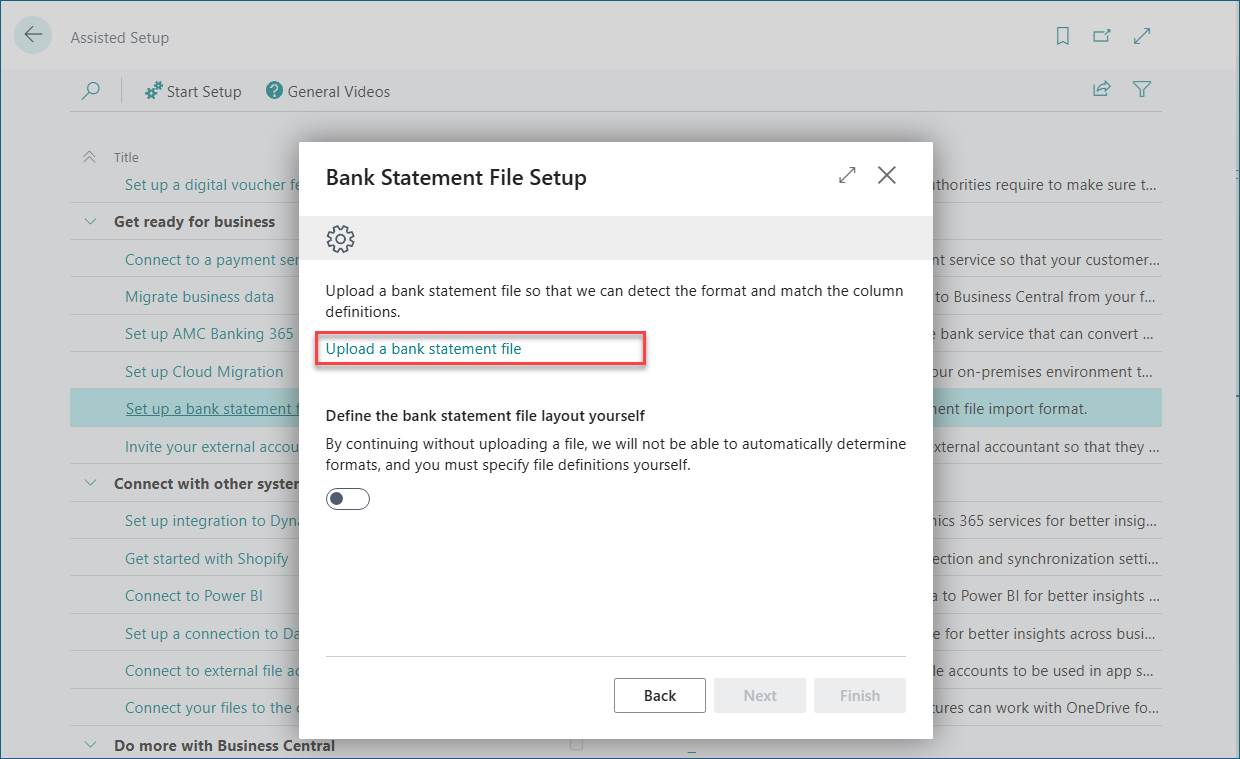
Upload a bank statement file.
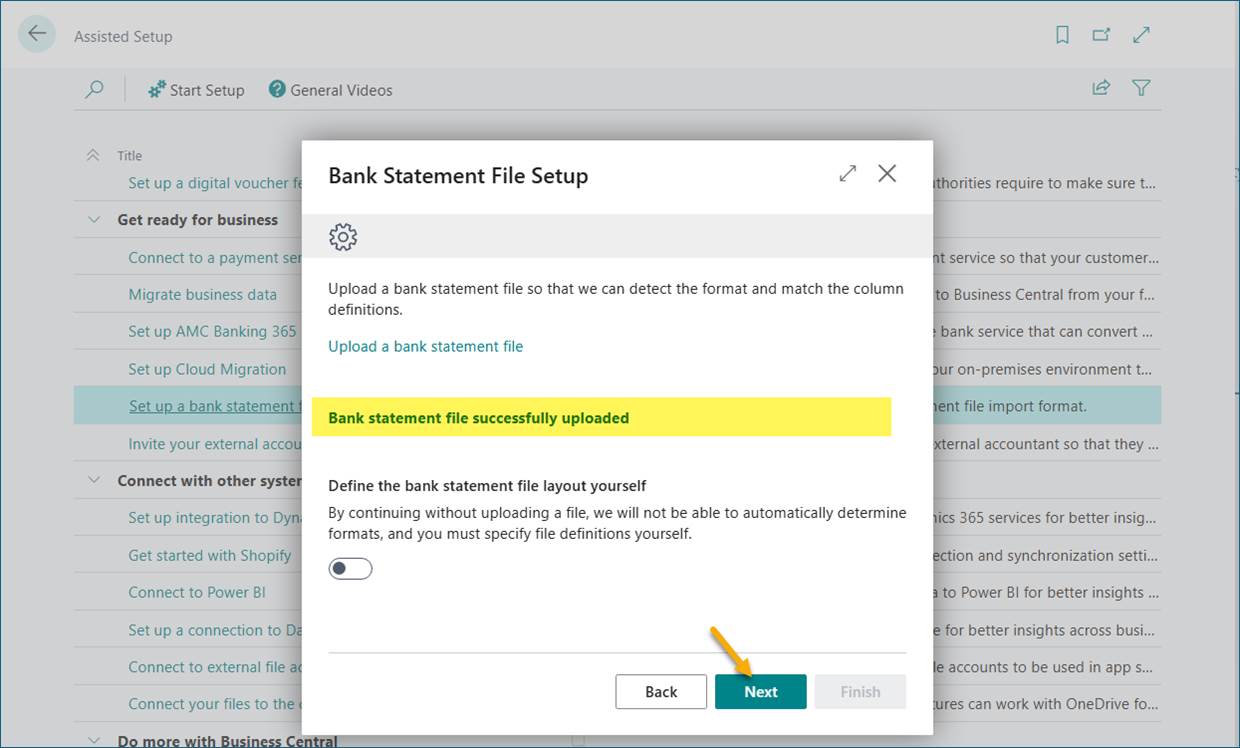
The bank statement is successfully uploaded. Proceed by clicking Next.
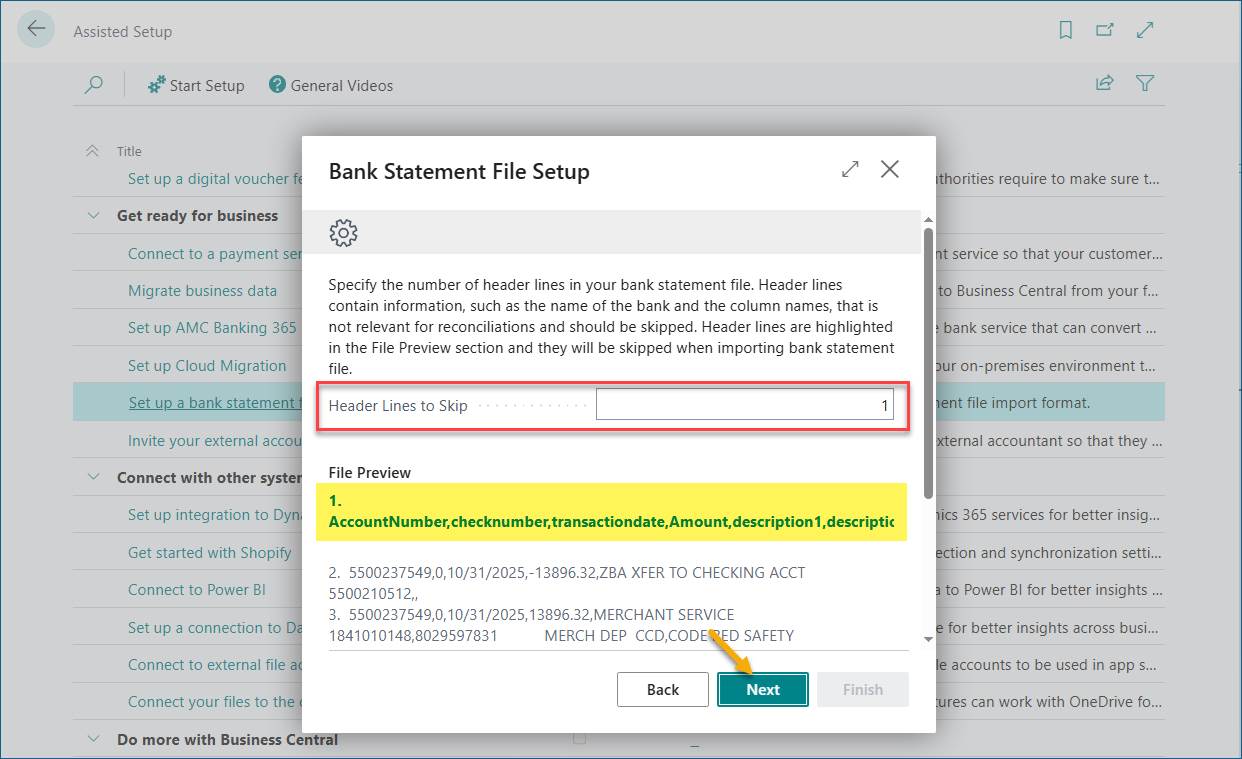
Skip the header in the imported statement by specifying the number of header lines to skip. In this case, it's just one. Proceed by clicking Next.
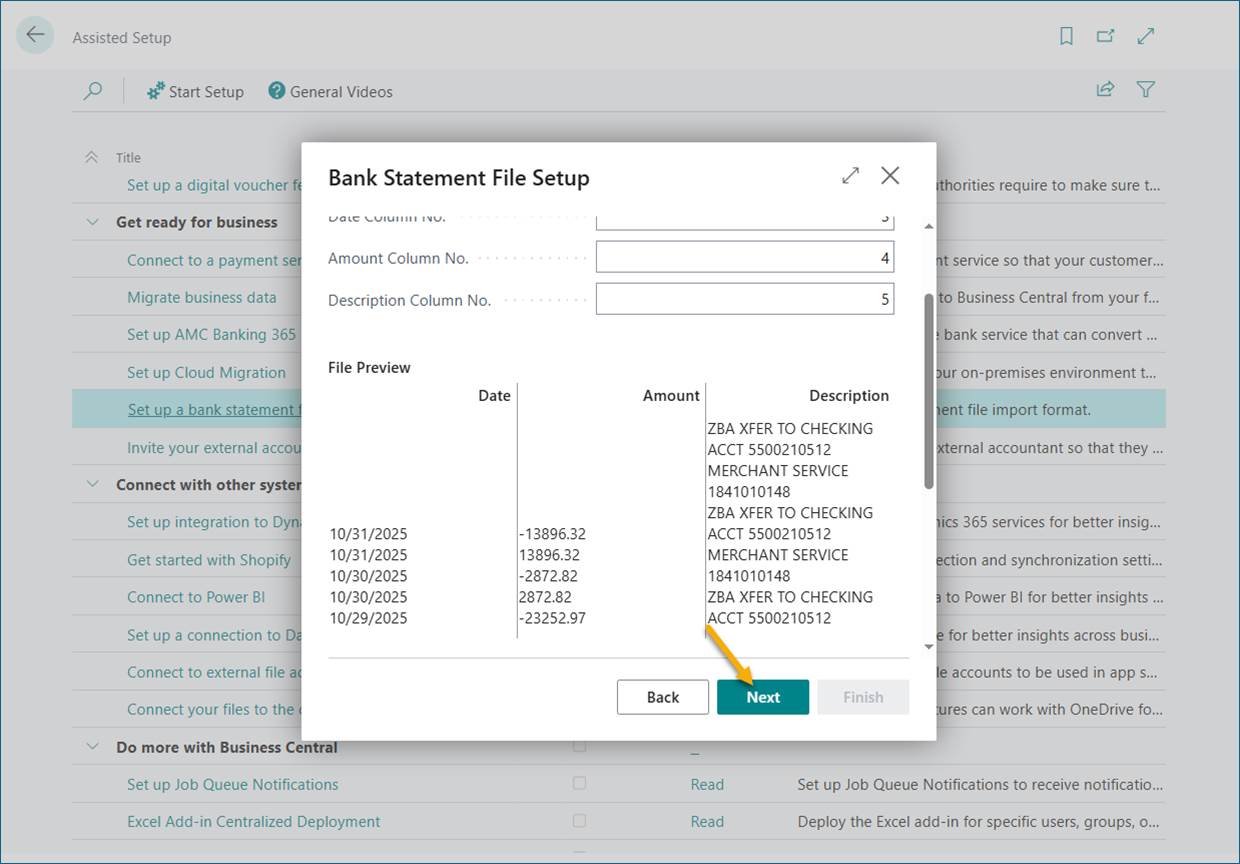
Leave the setup on this dialog as is and click Next. The settings have been taken from the imported file.
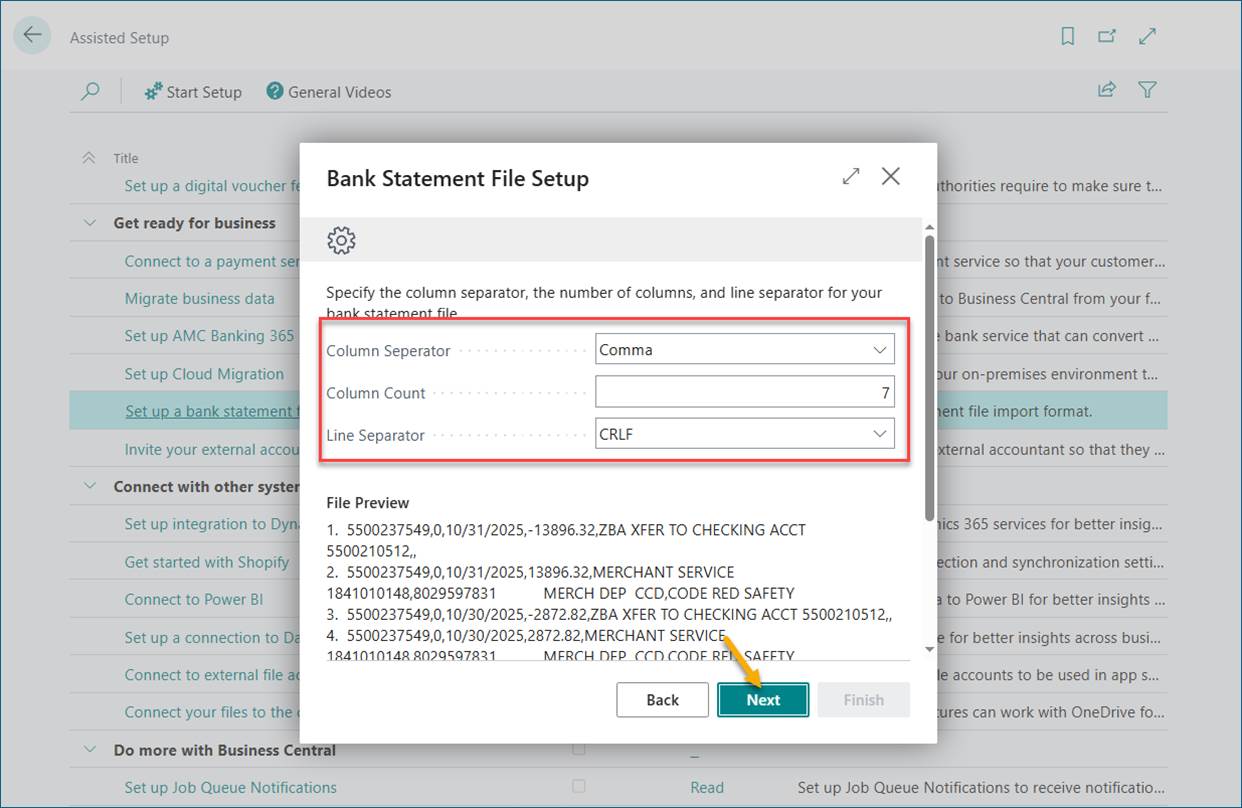
Leave the setup on this dialog as is and click Next. The settings have been taken from the imported file.
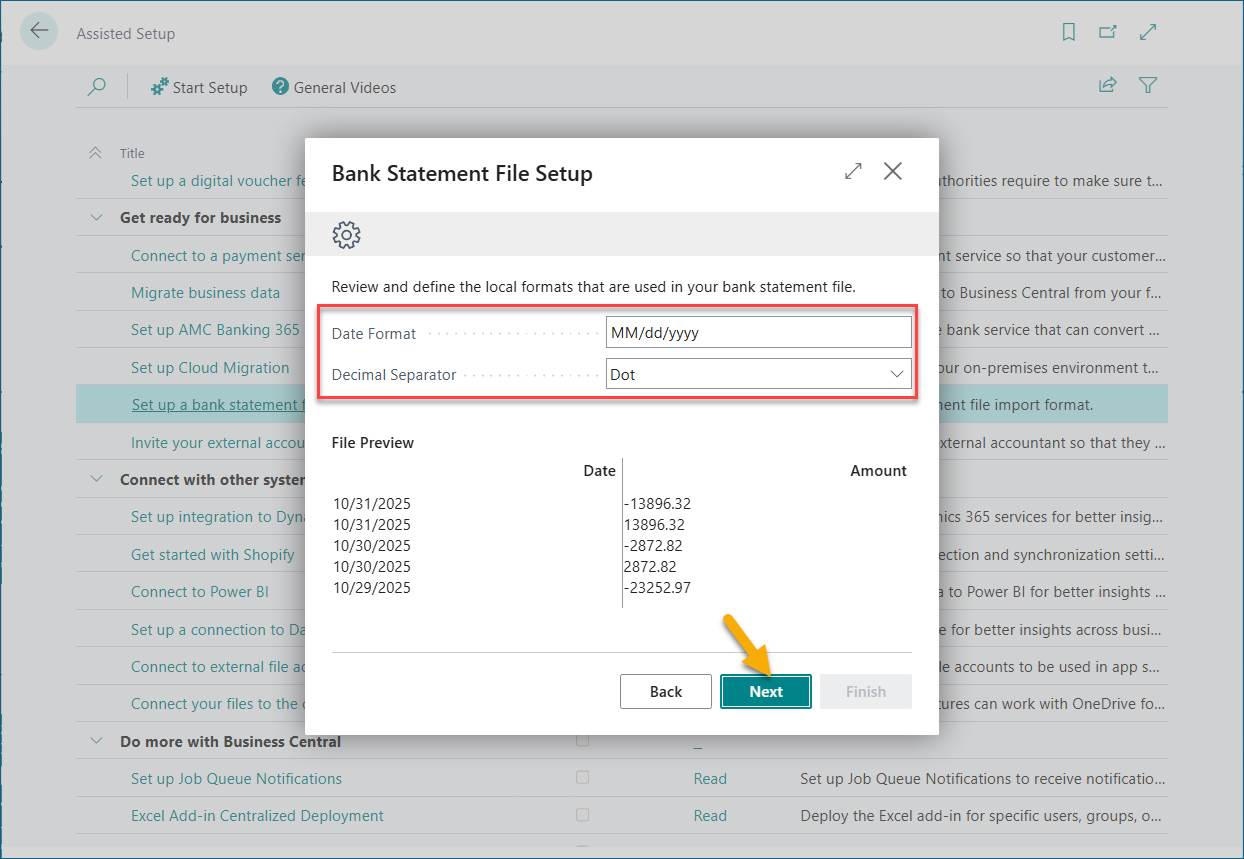
Here, you can change the date format or decimal separator to your preferred settings, but I will leave them as they are.
This will have an impact on the import of the statement. Proceed by clicking Next.
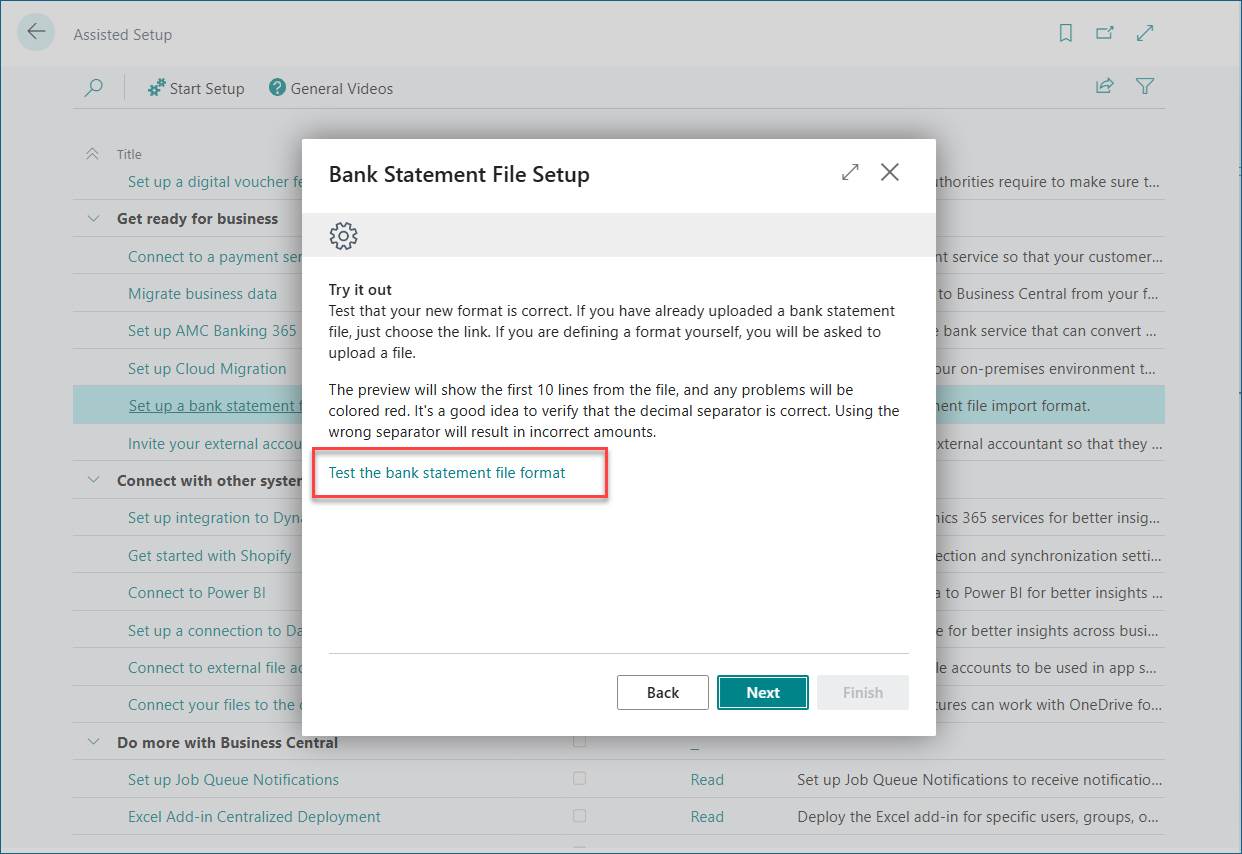
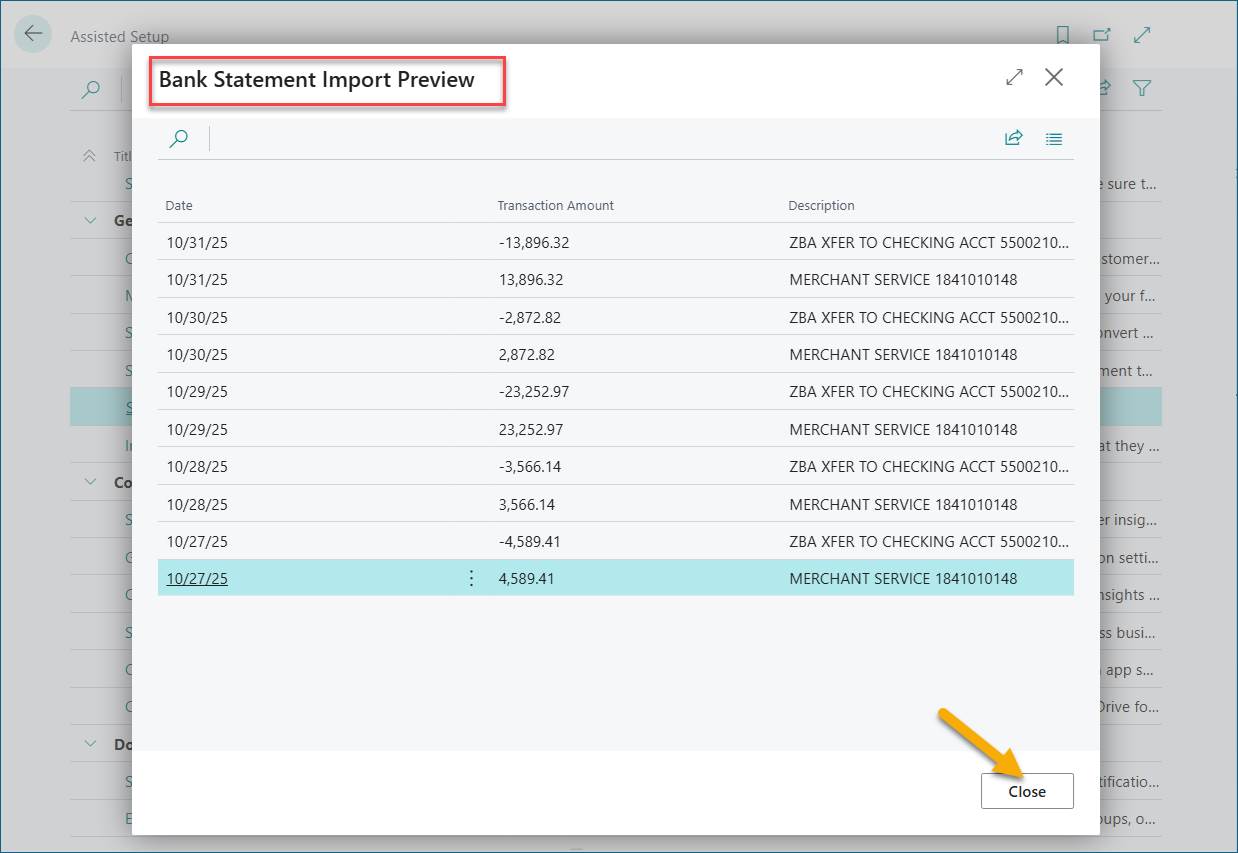
You can test or try out the bank statement by clicking the link below. Close the preview window and click Next.
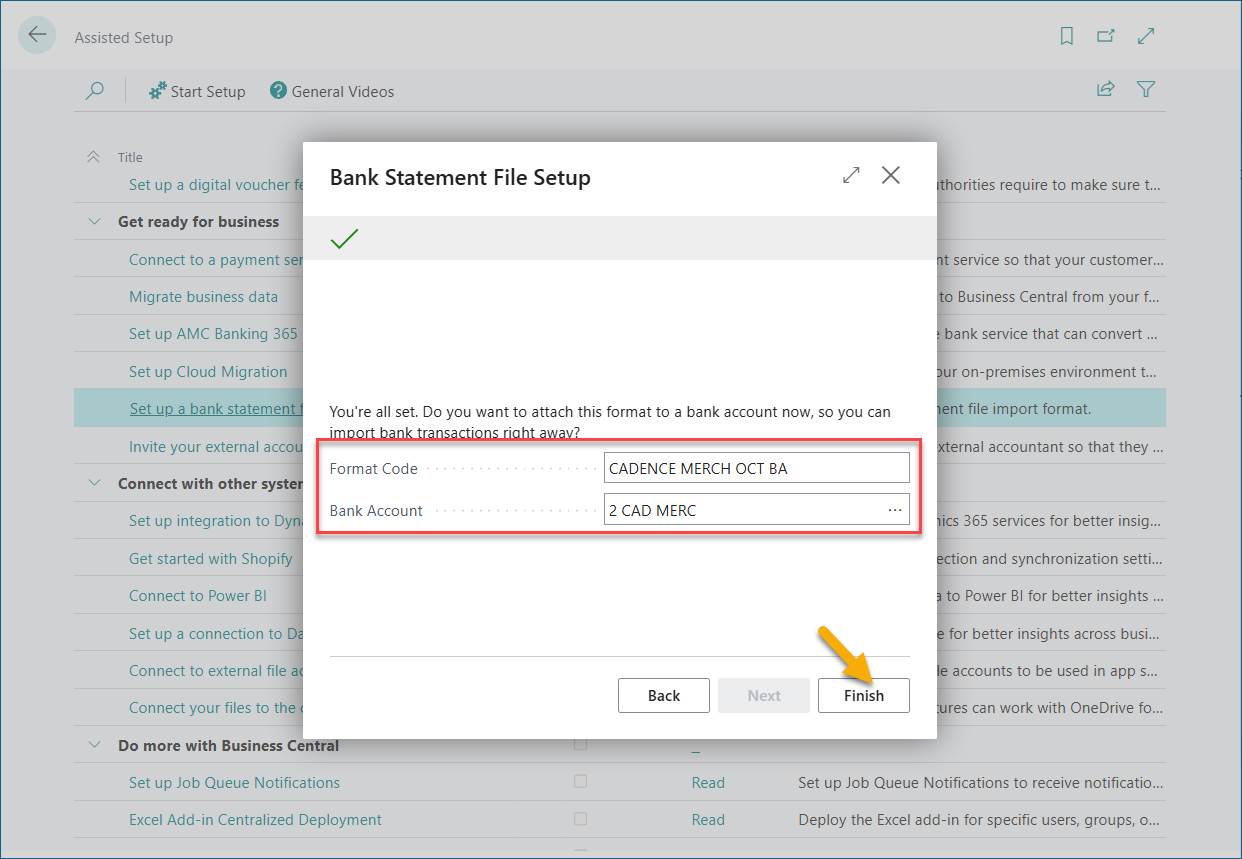
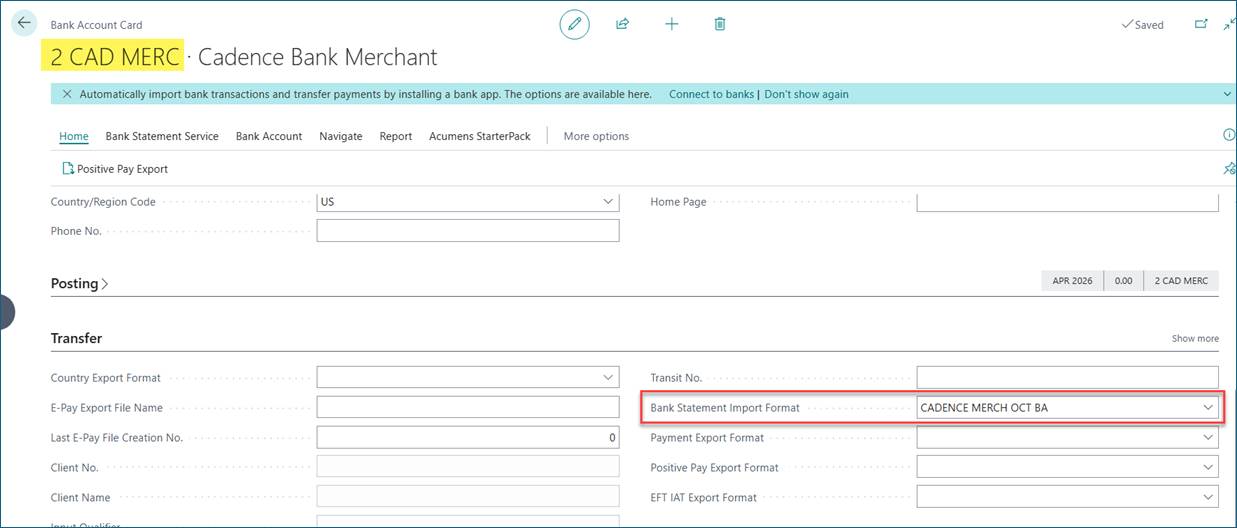
Enter a more descriptive name under the format code and select the bank account you want the format to apply to. For my testing, I’ll leave the format code as is and select the bank account. Click Finish to complete the setup.
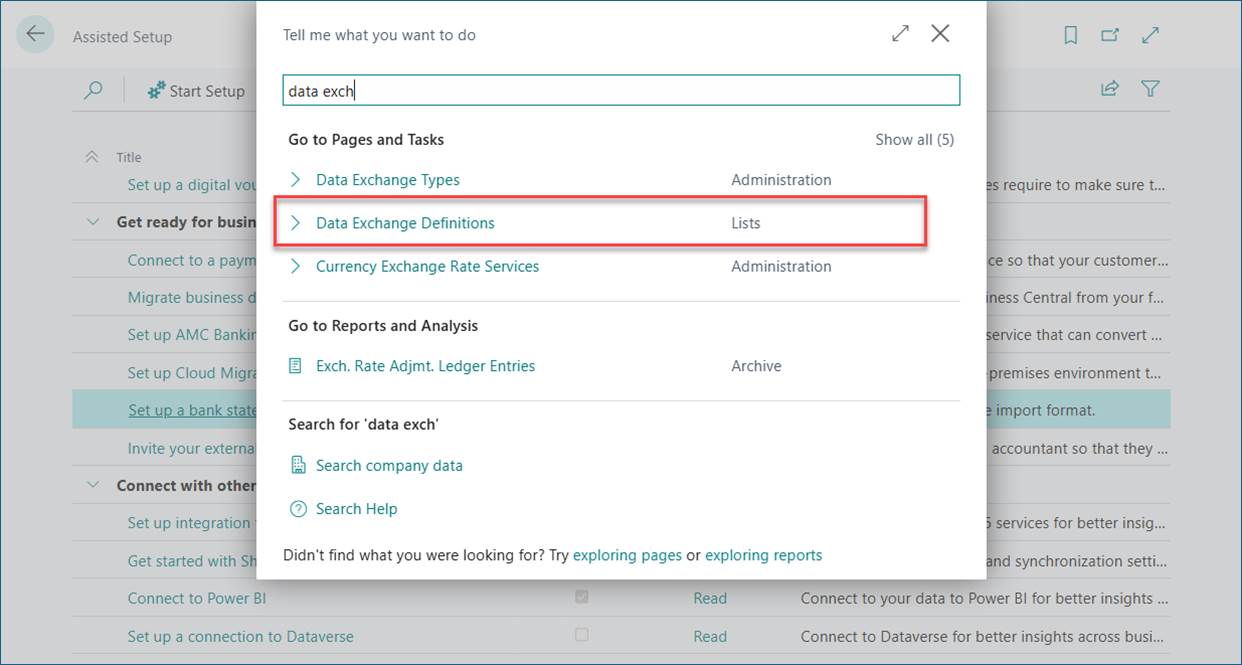
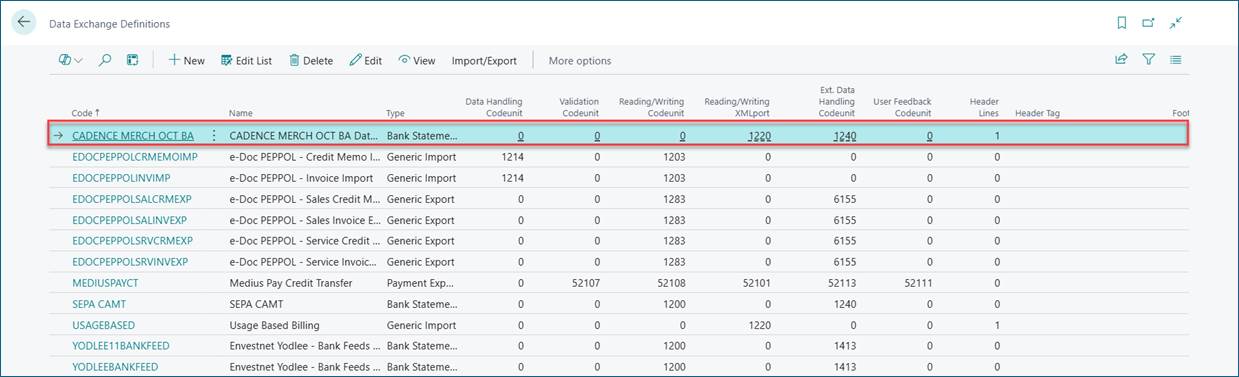
Search for Data Exchange Definitions and click the corresponding link.
Confirm that the setup has been added to the list.
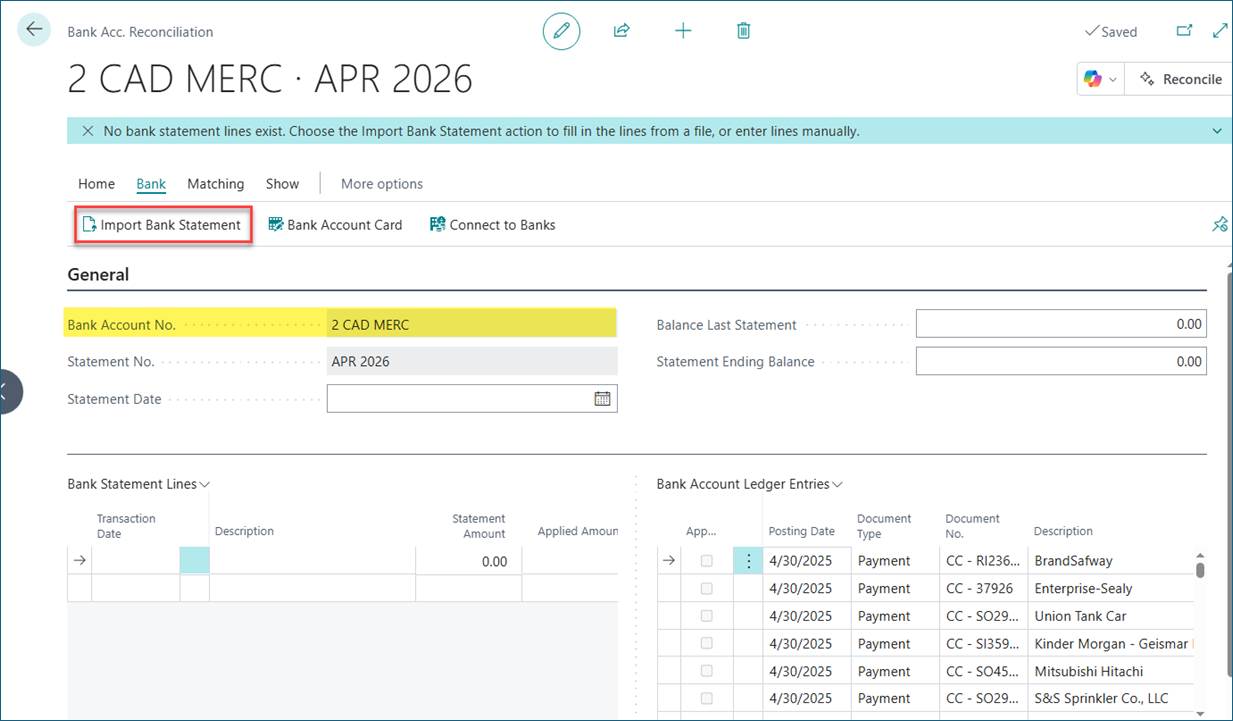
Create a new bank account reconciliation and select the bank used in the setup above and click "Import Bank Statement"
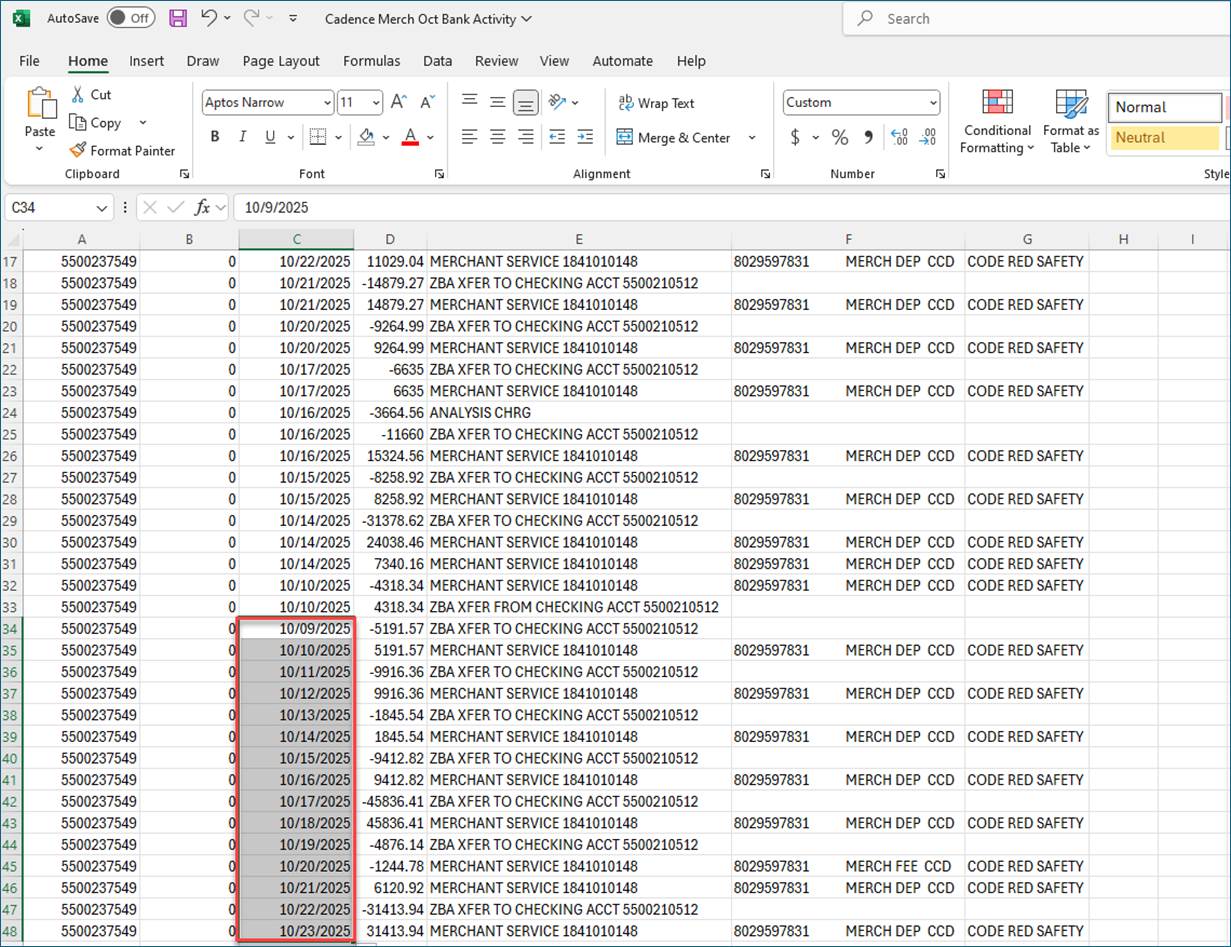
If you encounter the error below, make sure you have adjusted the dates in the bank statement to match the setup date format. In this case, the date format used was MM/dd/yyyy.

Before changing the date format in the bank statement:
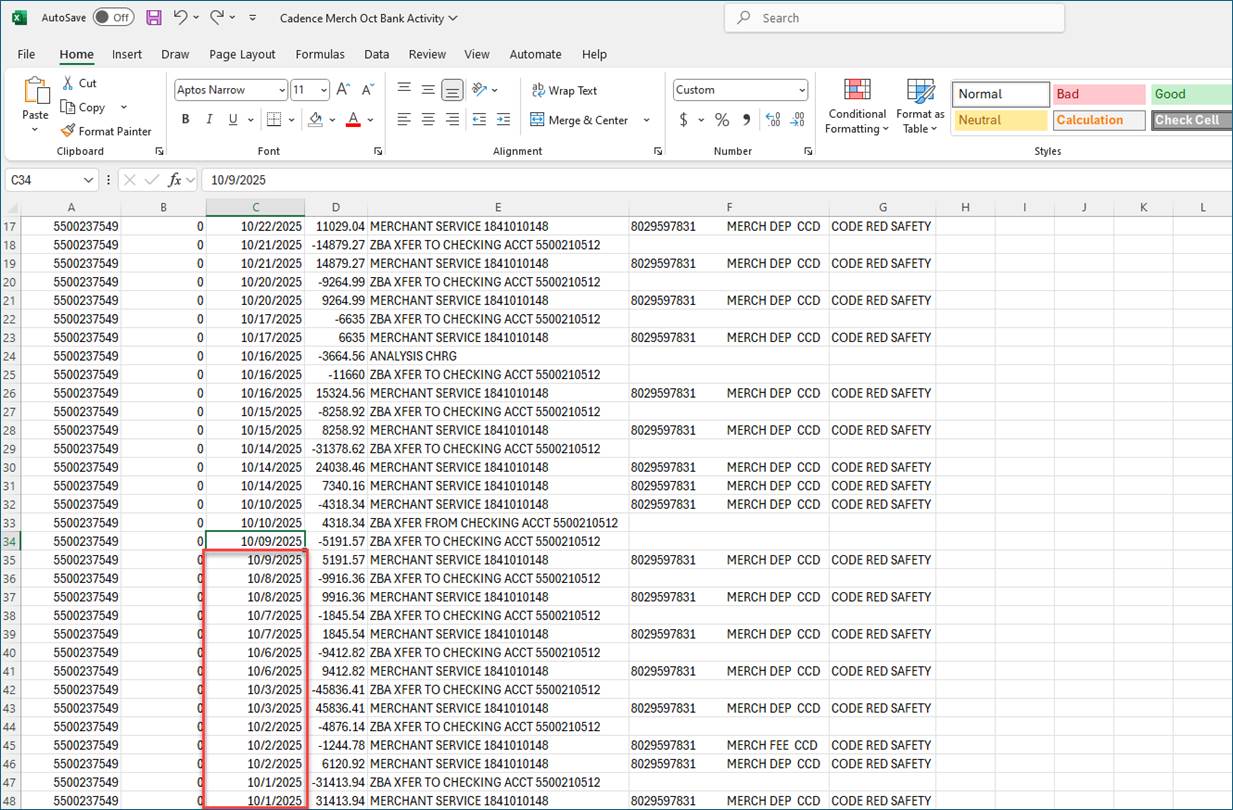
After changing the date format in the bank statement:
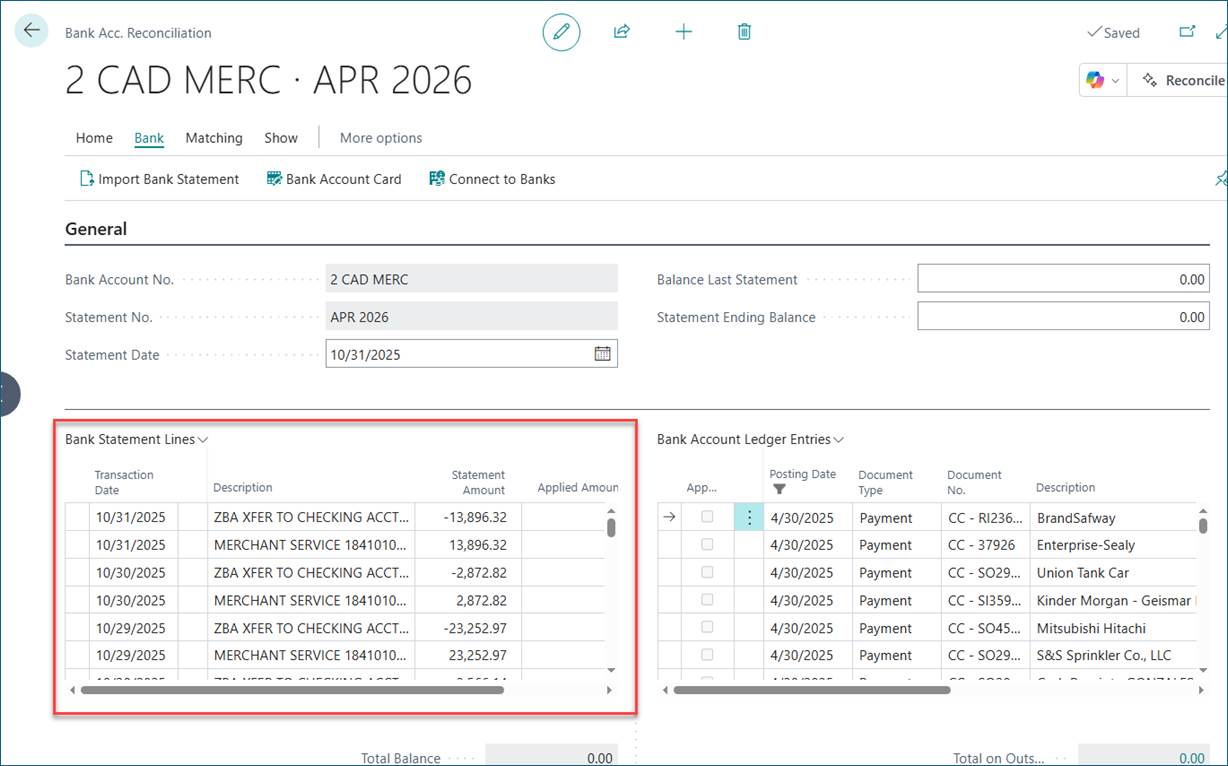
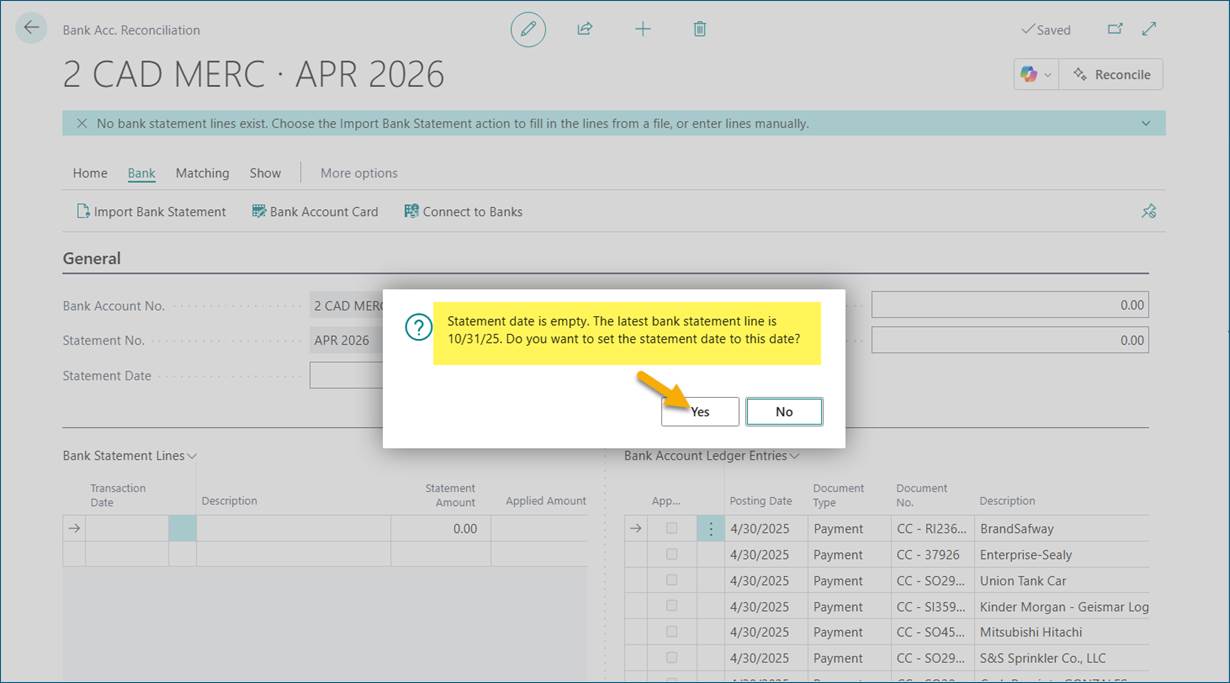
Now you can proceed to import the bank statement. Click Yes if prompted to change the statement date.
The bank statement has been successfully imported.